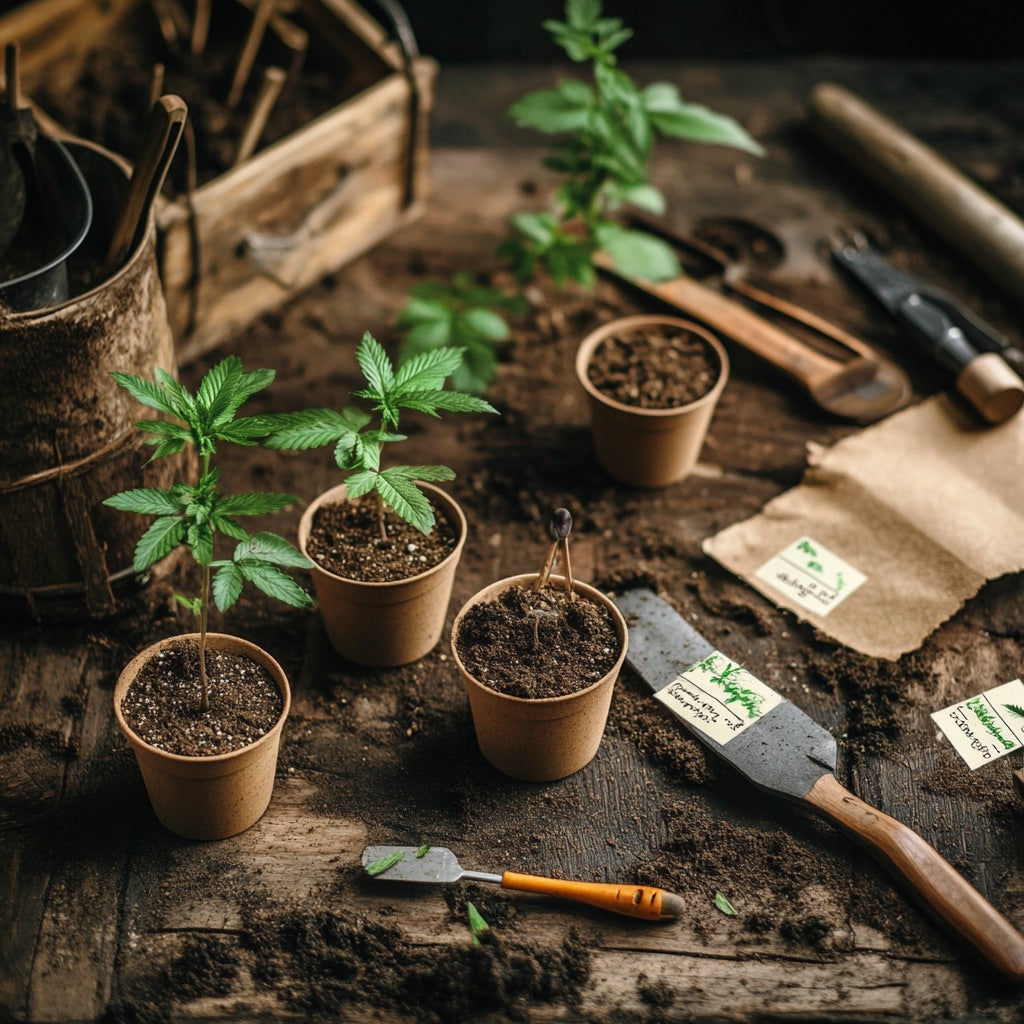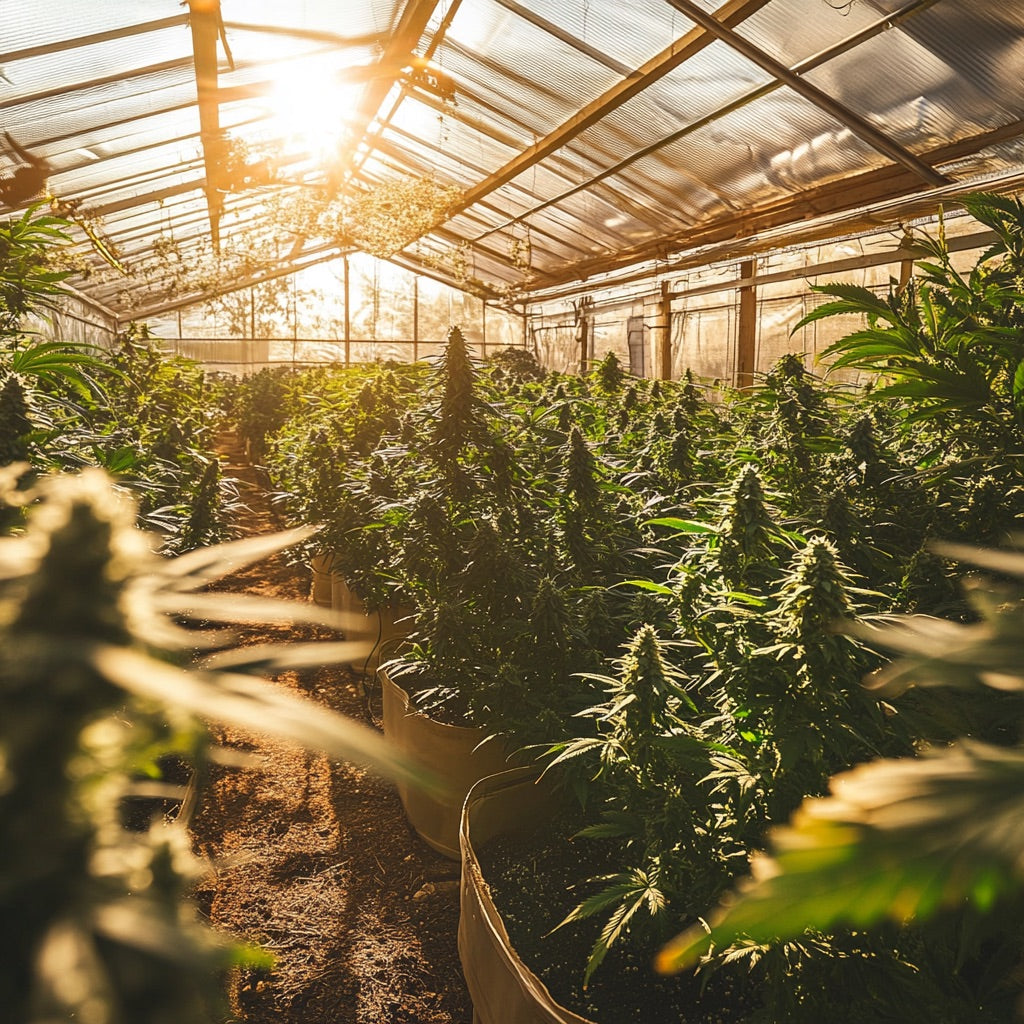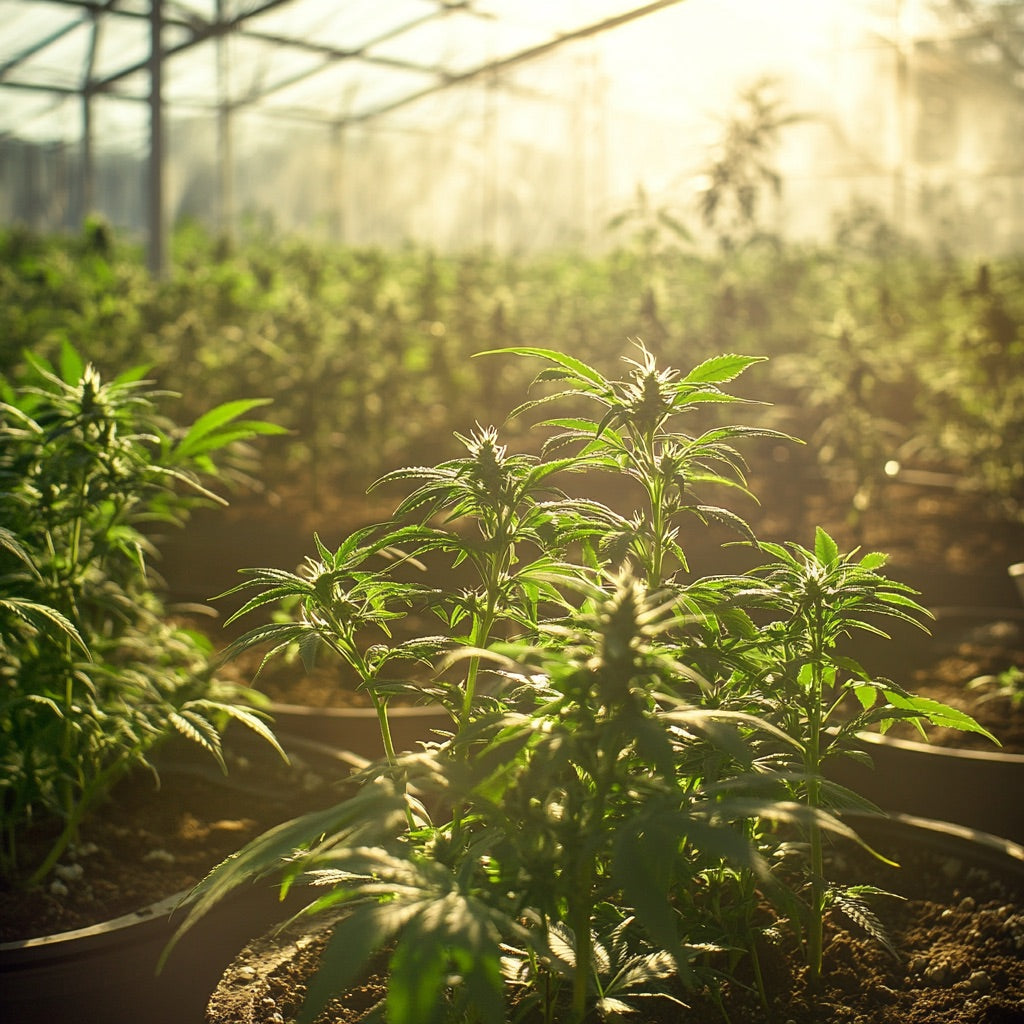


Hemp cultivation tutorial
Weed grow guide
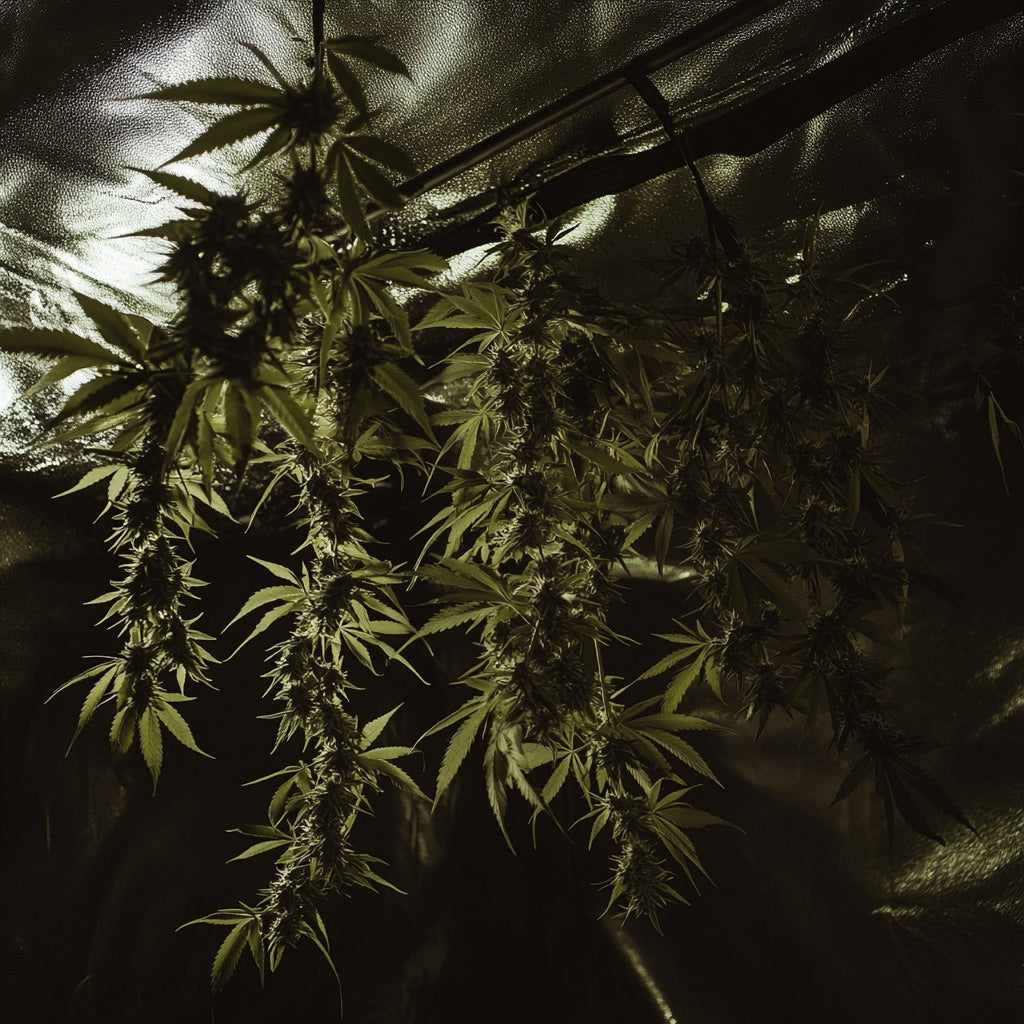
Weed grow guide
Step by step – it really is that simple ✓